Building a Deadzone factory using TerrainCrate Battlezones
8th Nov 2021
Rob Burman
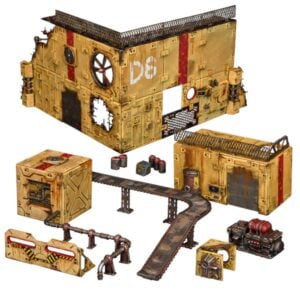
Jared Fulcher, host of the Warpath Universe podcast, is here with a guide to building an epic factory using the TerrainCrate Battlezones sets.
Building such a large structure comes with its own problems and hurdles. When making terrain for Deadzone, you don't use large, flat areas that much, so you don't notice the little things, the things that only stick out after looking down a long, generally flat section.
This blog instalment is all about dealing with bigger areas, how to work with them, and several mods that allow better use over all. This will cover wall sections, several of the more decorative connector types, and most importantly, several uses connectors to make snug, friction points for removable terrain.
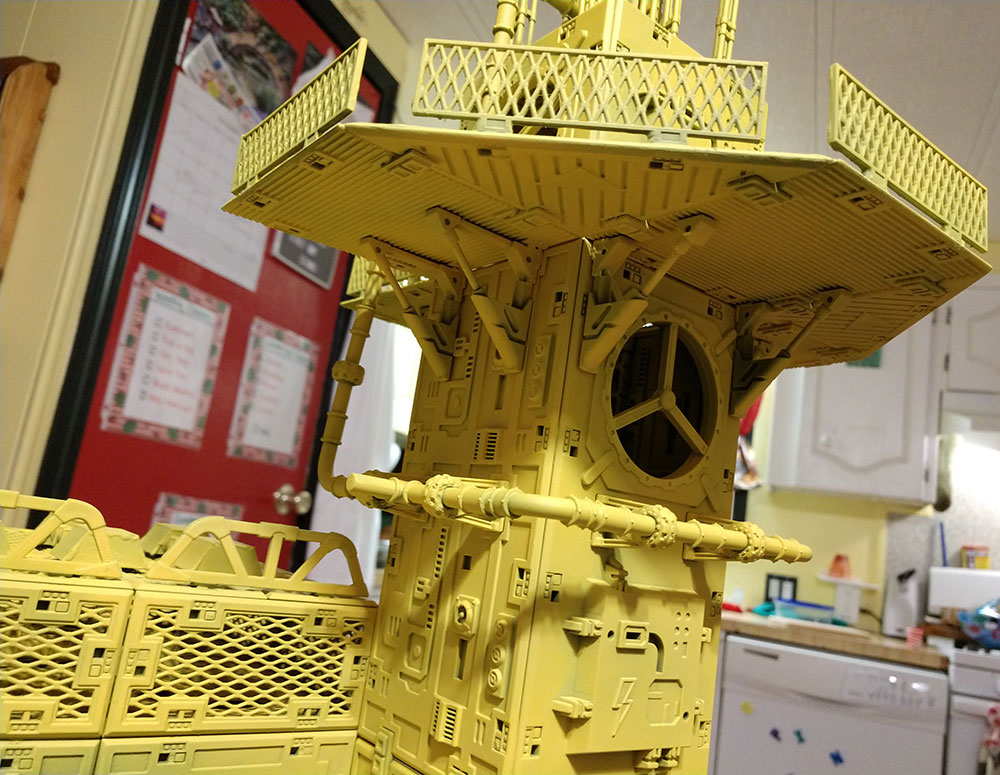
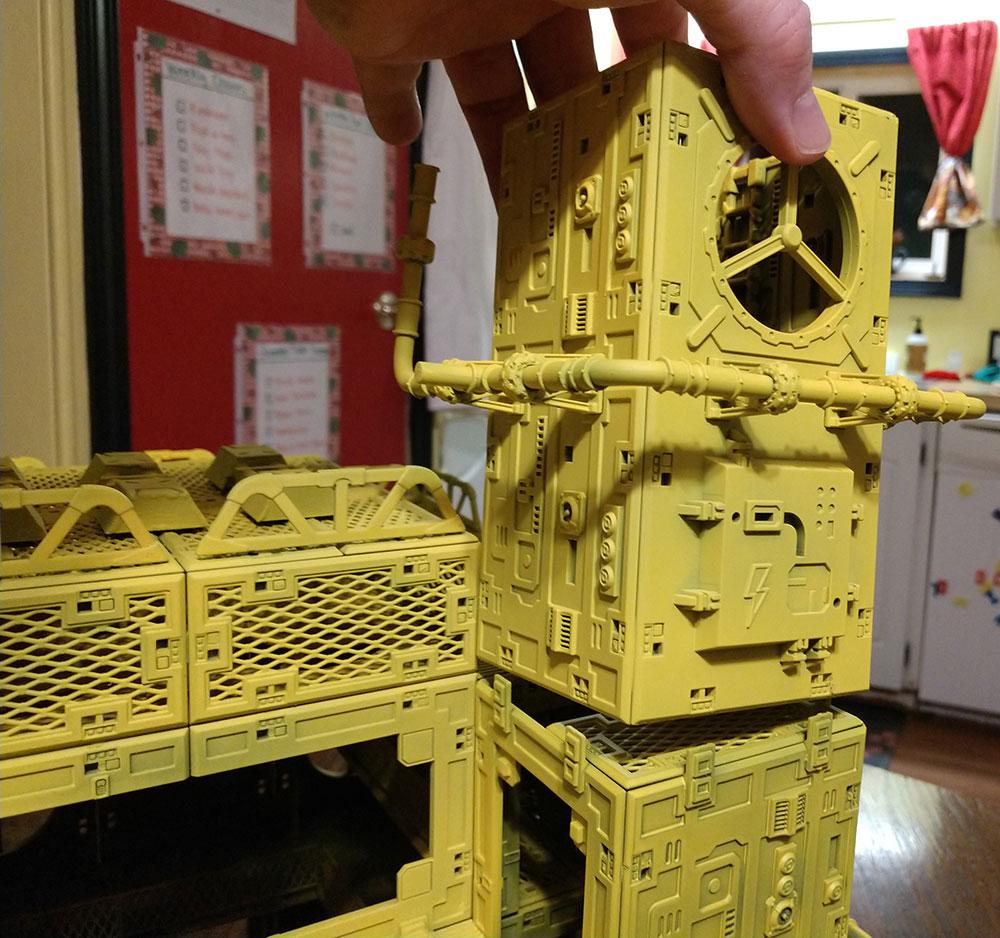
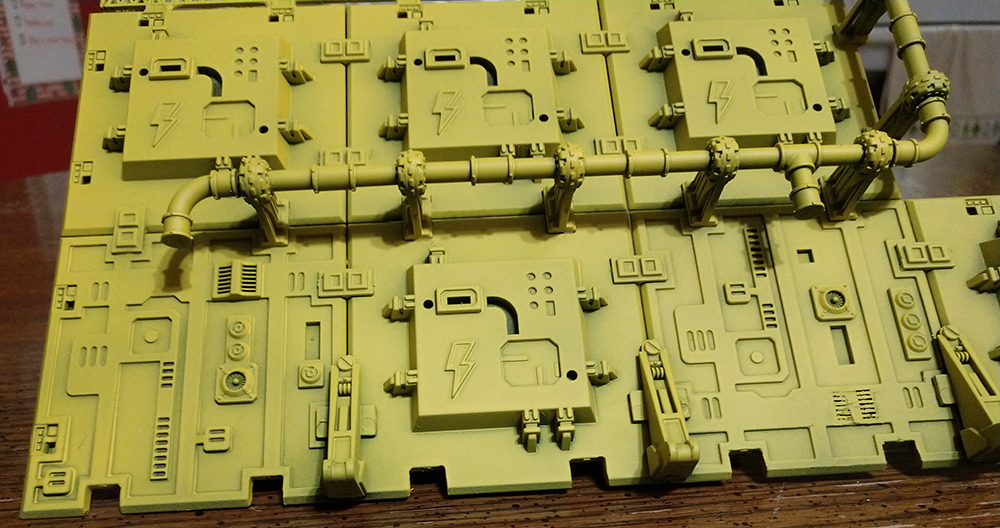
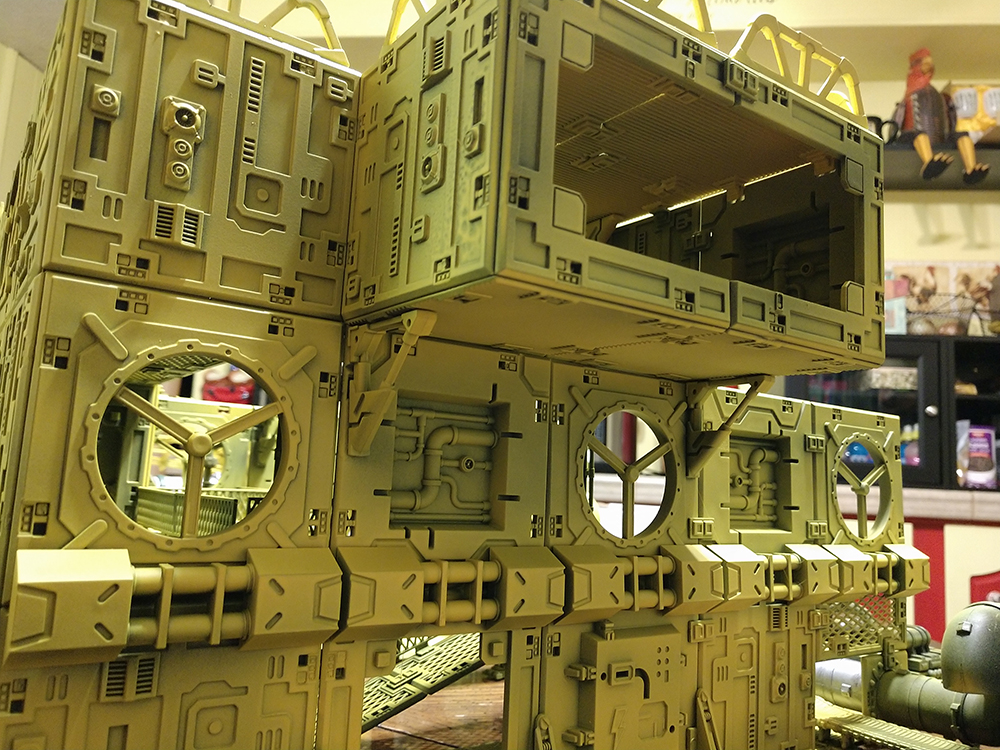
The Communications Tower is a great place to start. Looking at the above picture, you have what seems to be a solid, decorative piece of scenery with lots of character. This one section actually splits into two removable parts and the base factory.
The top-most piece is held in place by right-angled pylon connectors. I wanted this piece to be very sturdy because of the height of the tower top, so I put two pylons on each side. The pylons are ideal for this type of situation as all you usually need to do is snip off the one nub that would be normally connected to next section of the Communications Tower.
I say usually because you may have noticed that the two pylons on the side that have the exhaust fan had to be spaced out to either side because the design around the fan portion of the terrain piece is not flush with the rest of the square.
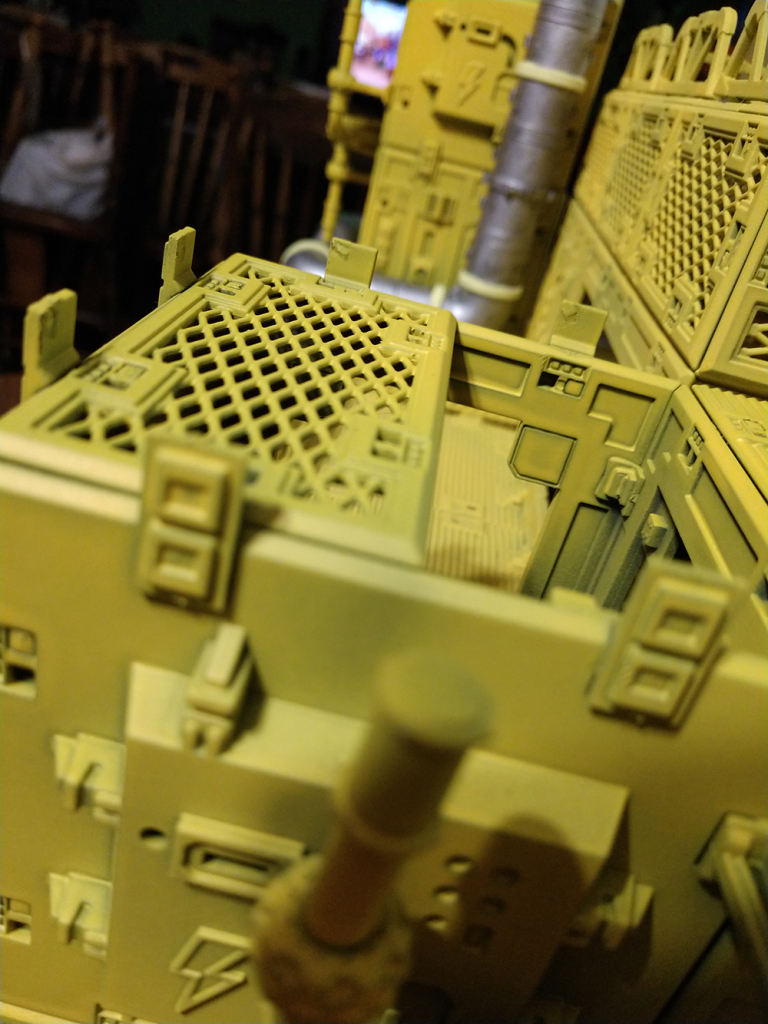
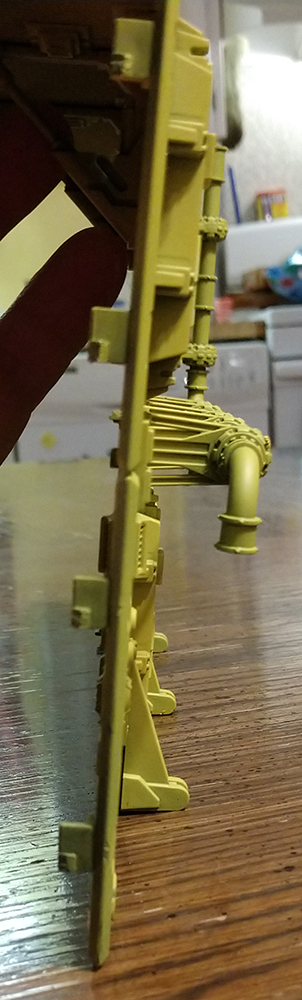
Here is a better view of the pylons. The pylons that line up with the lower exhaust fan are on the top in this picture. Even with them attached with only plastic cement, they are firm, as they can be glued the whole length of the pylon.
Because the pylons line up so snugly with the basic terrain pieces, they also make great supports almost anywhere else you need to add strength. In this picture you can see two being used underneath a section of walkway that has no support other than the wall section they are attached to. In fact, they make this section so sturdy, I have another section that rests on top of it, with no issues at all!
The pylons are not attached by nubs at all, but glued into position - the full length of both touching sides without taking the terrain piece out of its right angle.
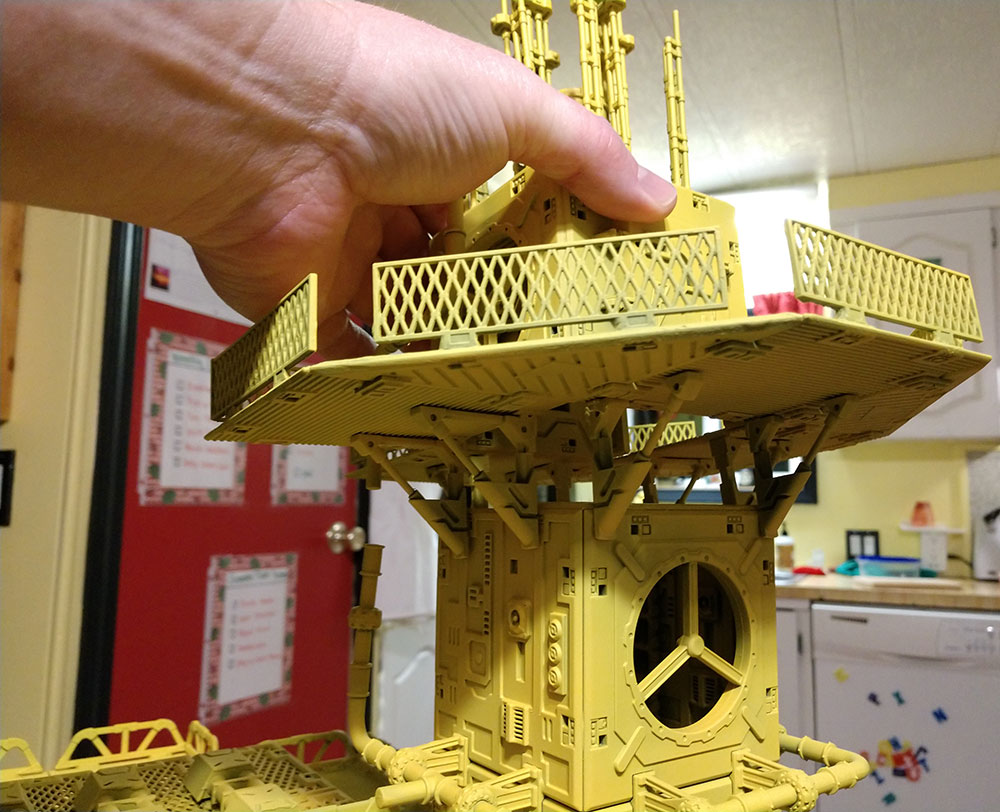
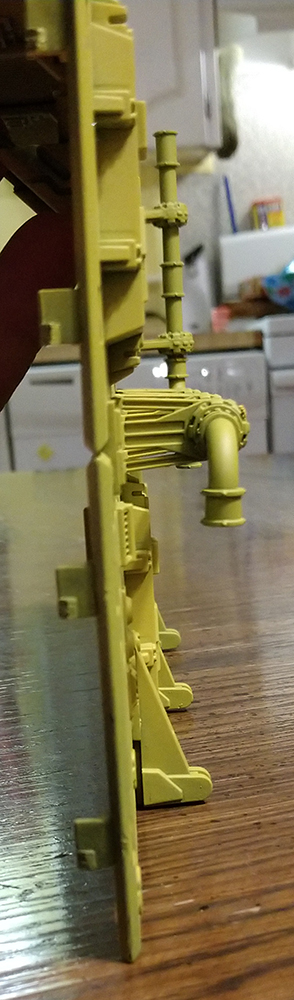
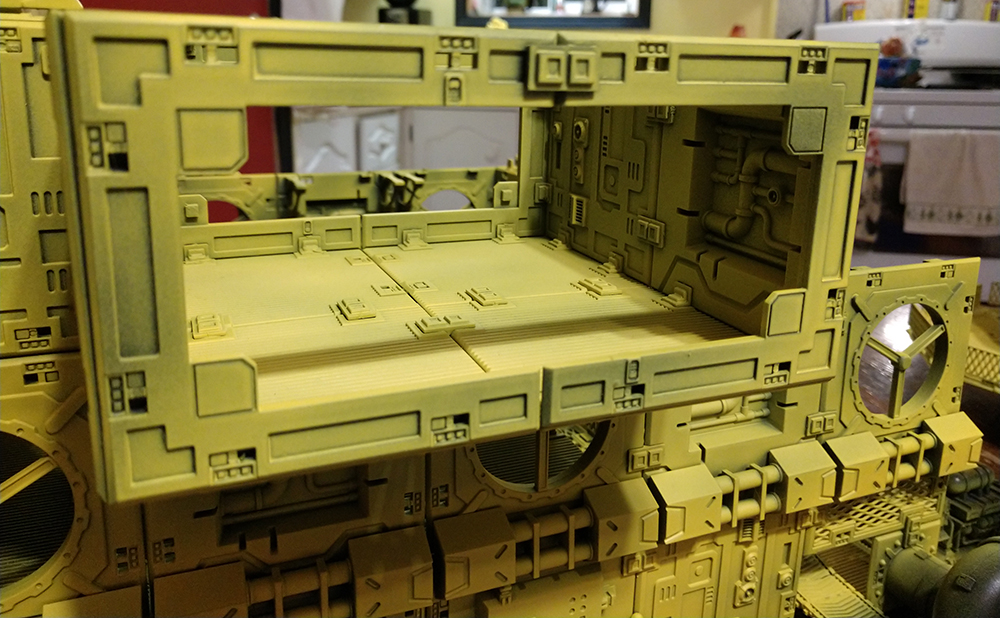
The next lower section of the Communications Tower is also held on by nubless connectors, but in this case the connectors are on the bottom, main factory terrain piece and use regular connectors instead of the pylons.
Here you can see that I have connectors on three of the four sides instead of four like the upper piece. I could have put the connectors off to the side, like I did with the pylons on the earlier piece, but didn't want to block the entry way into that section of the tower. Also, just the three sides making contact was very firm and it didn't really need it.
You will also notice that some of the connectors still have a small piece of the nub still on it. This is fine, as that little piece of nub will seat into the hole on the opposite terrain piece and better help it line up. You don't want to make it too big, or you'll start to notice paint getting rubbed off by them.
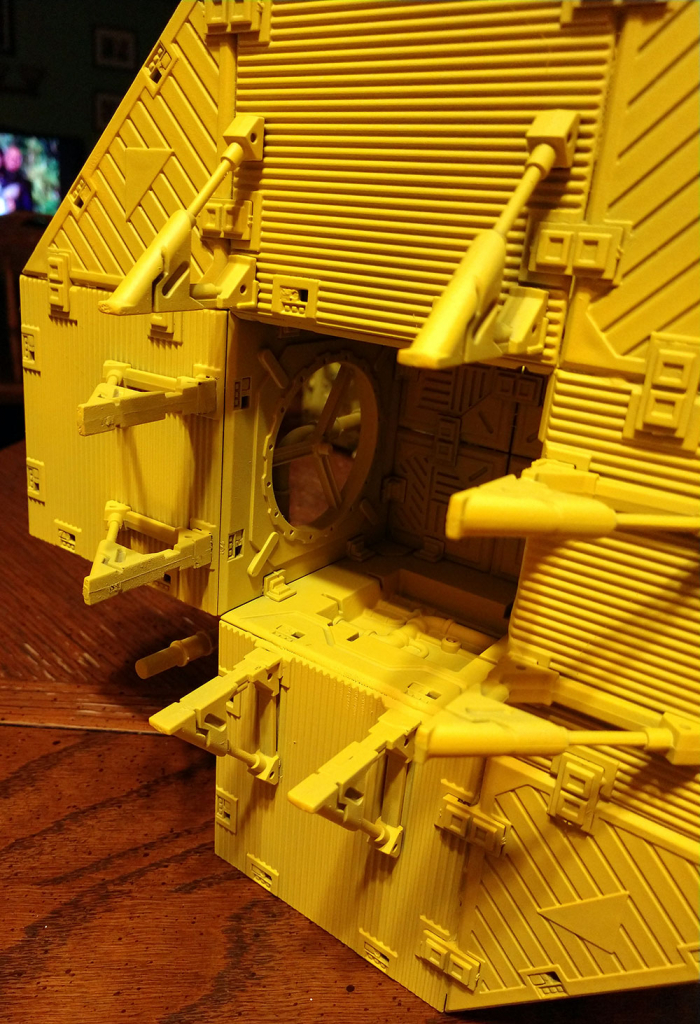
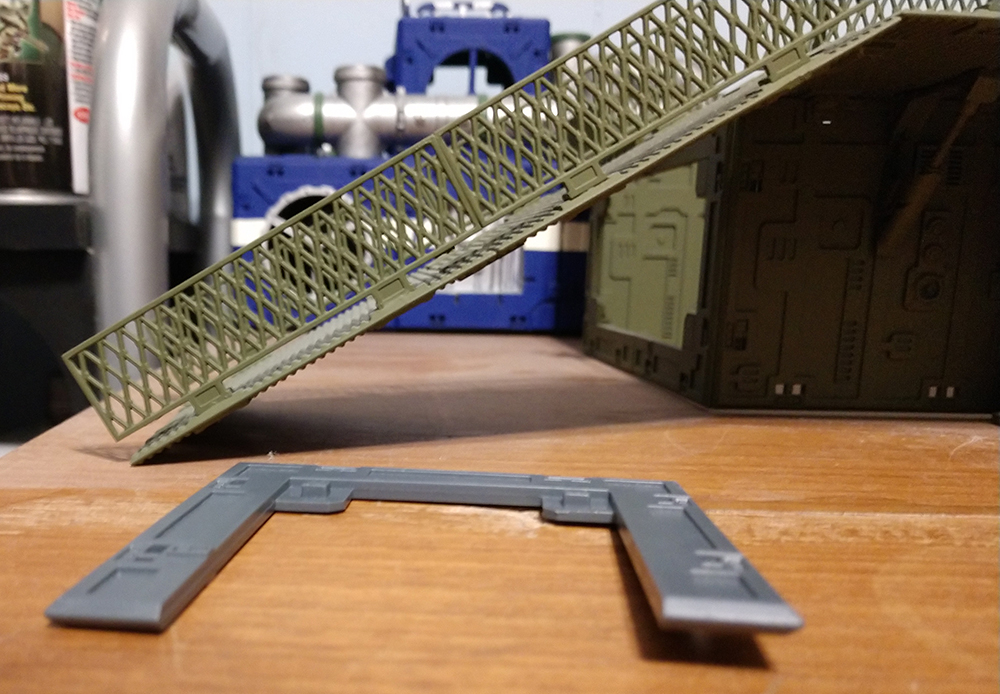
Switching gears a bit, there are also pieces that don't have a right-angle to them that might fool you. If you would look at the support connectors, or feet connectors as I call them, in this picture they look like they would touch the table top and hold the wall up at a good 90-degree angle, right?
Thankfully they don't. This wall slips in-between the main factory structure to the left and several power generators that line up with the conduit, to the right. Since these feet connectors have a slight angle to them, I can insert the wall at an angle, like pictured above, And then tilt it upright and have all the connectors click into place.
Here is the exact same terrain section straight up and down, so you can see the gap difference. So they work great in this instance, but I would not recommend using them to hold up a free-standing piece of terrain as it will look crocked and, if it is tall, might tip over.
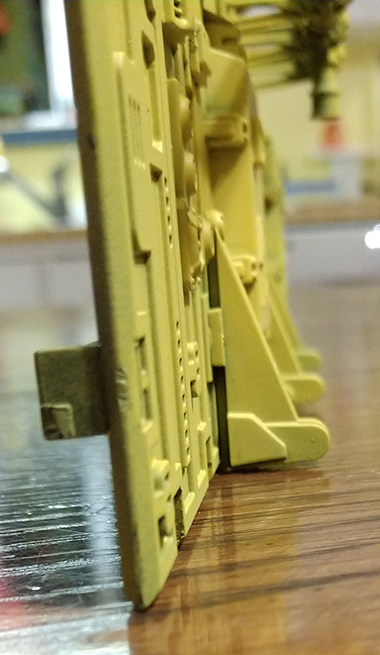
EXTREME GAP CLOSEUP!!!!!!!
Sticking with the theme of things that don't quite line up, take a look at this wall. I used the trapezoid-ended dual pipes along the front of the factory as both connectors AND to break up the flatness of the appearance. Looks good, doesn't it?
NOTE: Also another great example of using nubless pylon connectors (they were added after construction) glued into place to add structural integrity. I did it as I noticed the guard booth (this section) was a popular place to pickup and carry the factory, so I wanted to be sure it could handle the weight. Also, it looks sweet!

Well, it would if it weren't for that pesky exhaust fan terrain piece! From this angle, which is the angle most players will see it from, it is noticeably pushed out and not in line with the other trapezoid-ended dual pipe connectors.
When using them on small pieces of terrain, you wouldn't notice this, as it would be a rare occasion to have them lined up like this. If I had noticed this issue in dry fitting, I might have been able to use the razor saw to cut off those two diagonal spines sticking out and things would have lined up cleaner.
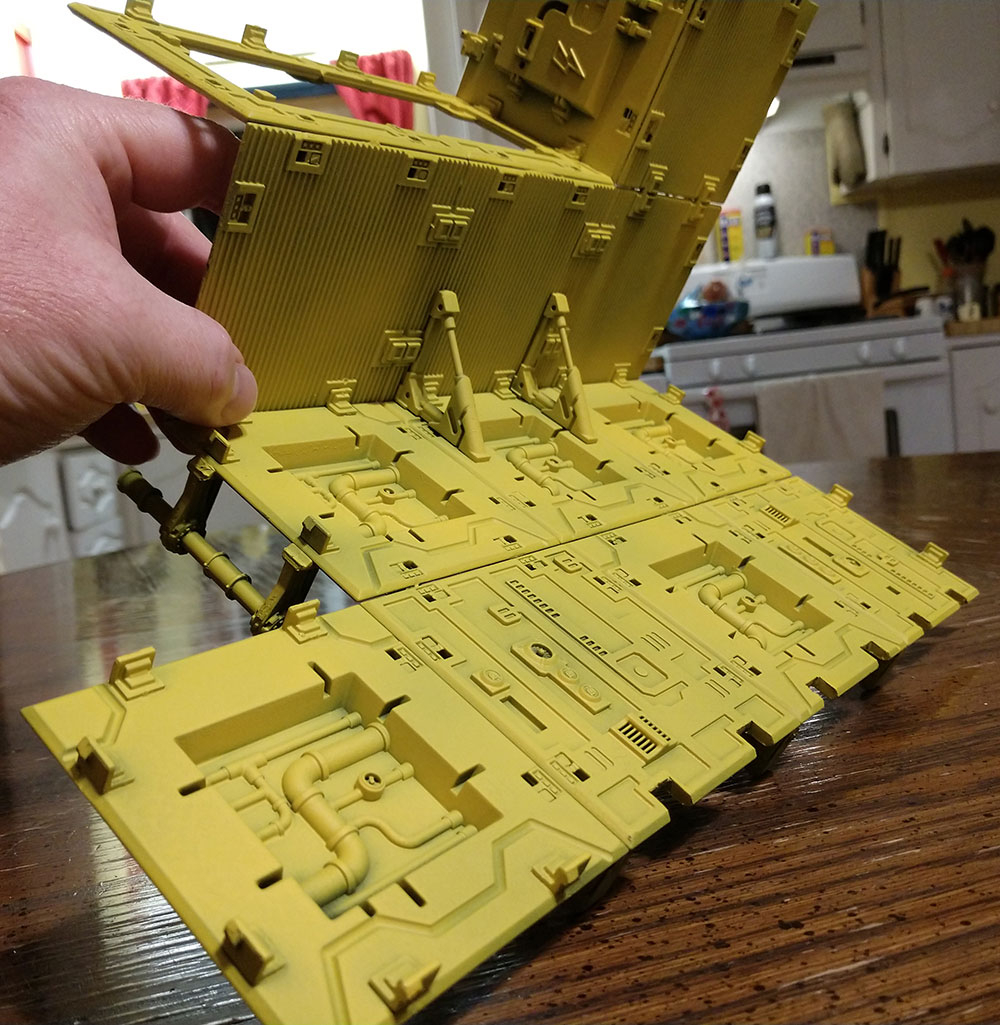
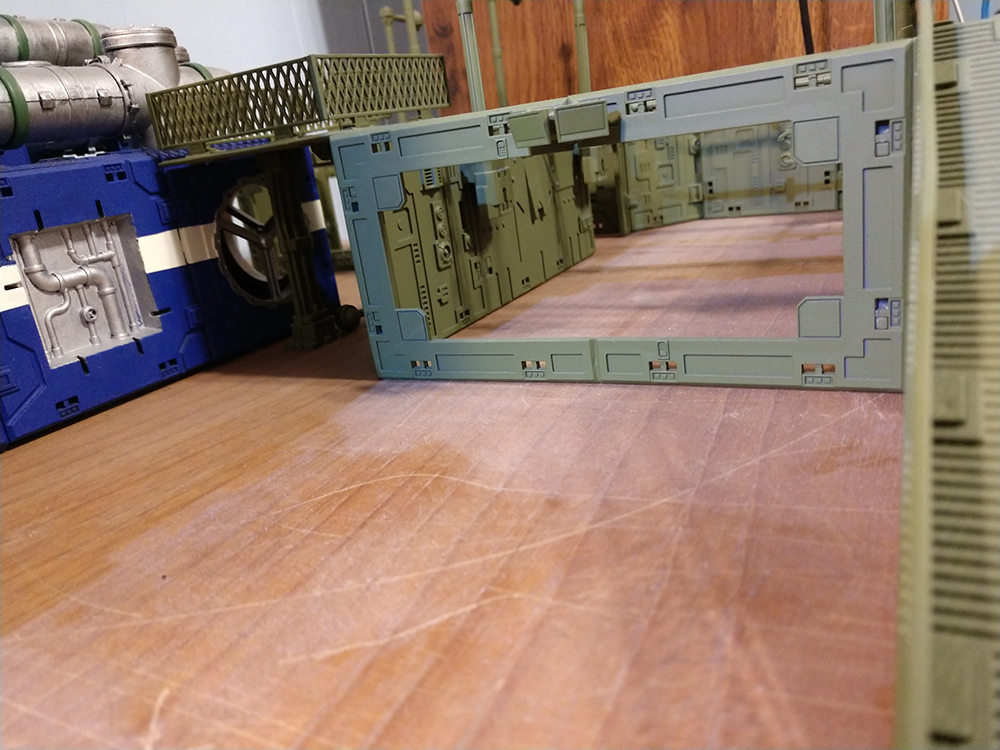
And last on today's post is something I like to think turned out really well. One of the wall sections you will get a lot of in the kits are doors. This is great for smaller structures as you'll want several entry points to each piece of terrain, but when building large pieces like the factory, you're going to drive yourself crazy if you try to use them all as doors.
One easy way to get around that is by gluing the door on permanently and making it a wall piece, but a different idea came to me. I give you…
THE BAY WINDOW!!!
This looks great, breaks up the aesthetic, and can be done with little to no effort. Since doors are the standard 3" square, rotating it and them attaching requiters no modding at all.
There are a few down sides. Unlike a solid square piece, if this terrain section is not connected on at least threes sides, it is flimsy and will flex and bend which could snap or permanently warp the piece.
Also, this is one of the few pieces of Mantic Terrain that can come sometimes warped out of the box, so if you don't have what would normally be the bottom corners of the door secured to something, there is a chance they will not line up properly.
The fix was easy enough though. If you look at the top centre of the bay window, you will see a flat connector with both nubs removed. Since all Mantic terrain wall pieces have the same bevelled edge, it was easy to glue this connector into place, hold it securely with a set of forceps, and let it melt into place.
If you want to be even more creative, why not use a decorative flat connector, like these flood lights? The bottom is glued together without a connector since it has the table top to support it, but it is weak and rather ugly if you ask me.
So there you have it, several out-of-the-box ways to create some truly dynamic terrain. Also I hope displaying some of the hiccups and mistakes I've made along the way will help you avoid them and look out for ones you might encounter in your own endeavors.
Good luck. Have Fun. And keep "Building Better Worlds".