Top tips for tabletop miniature photography at home!
1st Feb 2022
Rob Burman
Hello readers! Ben here, Mantic’s resident photographer. You’re probably already familiar with my work and didn’t even realise it. If you’ve ever seen a Mantic miniature on the front of a box, in a magazine, or here on the website, chances are I was behind the camera that took the picture.
Rob kindly asked if I would write a blog to demystify the art of miniature photography and share some techniques so that your next hobby project can look its best when you share the pictures online (perhaps on the Fanatics page?). He also speculated that not everyone has a digital camera, lenses, tripod, lighting system, remote trigger, suite of editing software, etcetera… simply lying about. With that in mind, I’ve prepared this whole blog using only my smartphone and items I could find in my home.
1: SETTING UP
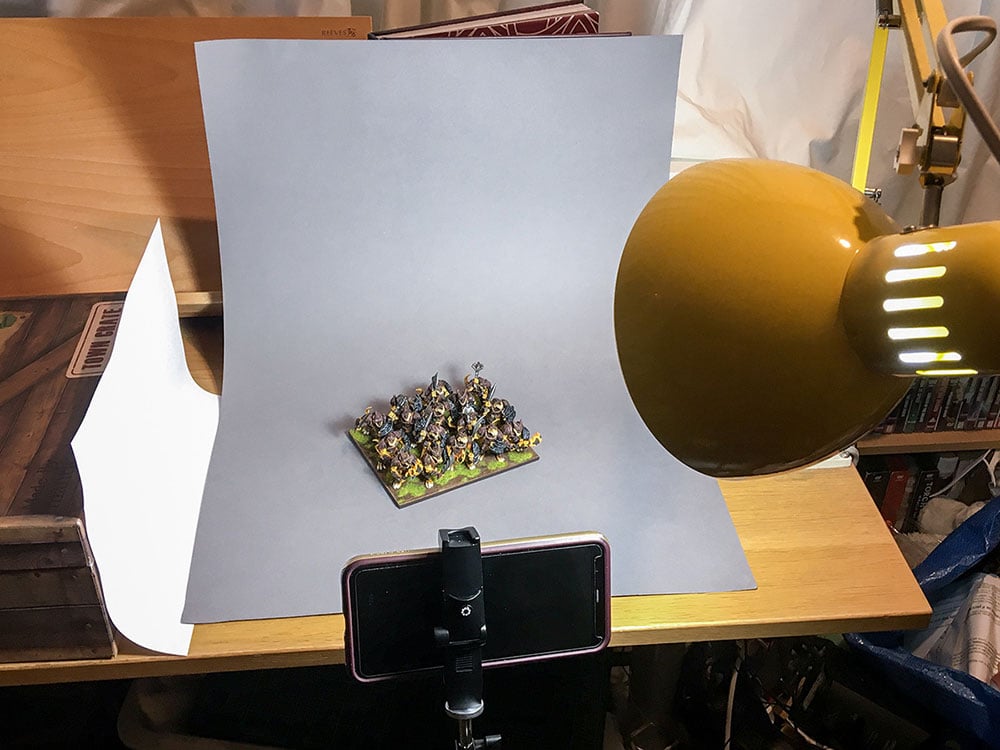
It’s important to have a good backdrop when photographing miniatures. A snapshot from my your messy hobby table is fine if you’re sharing a work-in-progress, but if it’s your latest pride and joy, the last thing you want is distracting clutter in the background. Find something plain like a cloth or sheet of paper – even a battle mat will do – and position it behind where you’ll be placing your miniatures. I opted for a big piece of grey card, using blu-tac to fix it in a curved shape for a clean backdrop with no hard angles where shadows can form.
A quick note: what colour backdrop you use will affect the outcome of your photos! A dark backdrop will make your miniatures look grim with lots of moody shadows, but a light backdrop will show off the details much better.
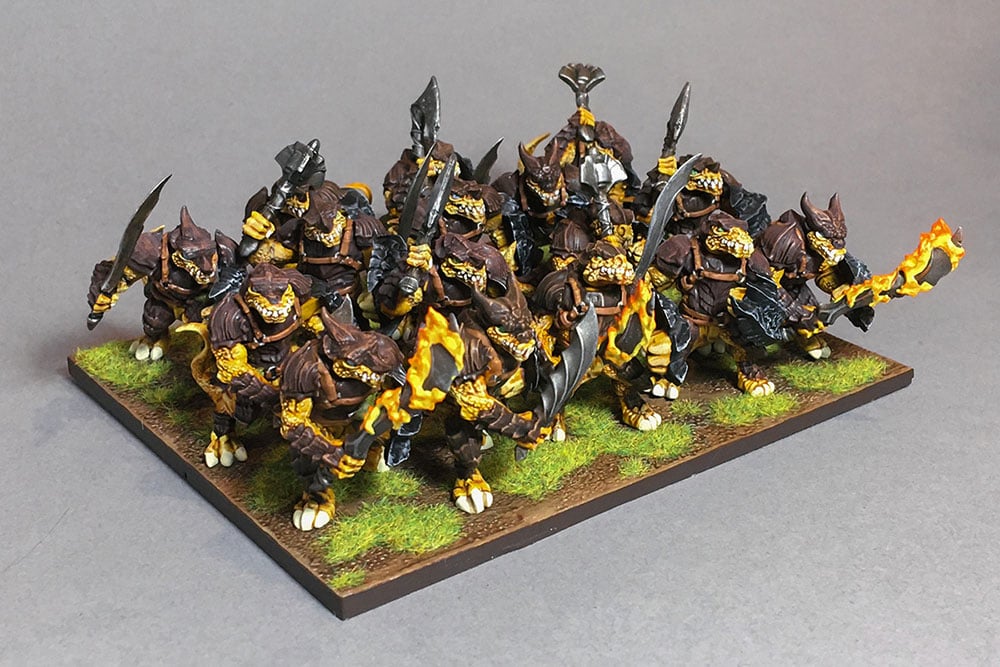
The next thing is to position your camera and miniature(s) to capture your subject from the best possible angle – sometimes called the “golden angle”. This is simply the angle of view that the model looks best from. It’s usually at eye level for heroes and monsters, but for vehicles or regiments (especially multibased Kings of War units) it’s usually from a higher angle to capture the three-dimensional depth of the subject. Try to pick an angle where all the major features and fine details are visible too.
Try and get your camera close to the miniature so that it appears large in the frame, but not so close that it starts getting blurry. You may want to invest in a phone tripod or arm stand so that you can compose the photo more easily (and take multiple photos from the same angle, almost impossible to do when shooting handheld) but these things aren’t necessities. One thing that is absolutely necessary however is…
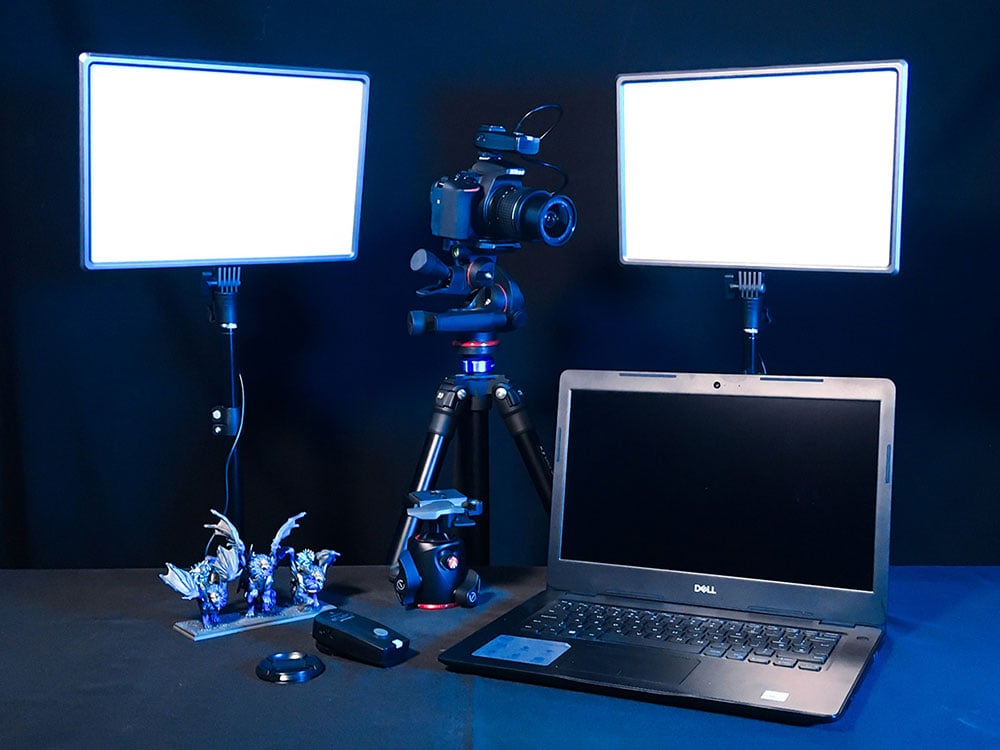
2: LIGHTING
Yes, there’s no avoiding it: good photos require good lighting. Thankfully this is simpler than it sounds. First, locate your best source of light to use. If you already have a daylight lamp at your painting desk, this will be ideal. If you don’t, then any bright desk lamp should do the trick, preferably an angle-poise lamp that allows fine positional adjustments for your lighting.
Using only one light source will cast strong shadows on your miniature, so it is best to use two or three if you can (positioned on either side if using two, or both sides and above if using three). If you’re stuck with just one, you can counteract the shadows by using a piece of white paper to reflect some of the light onto the opposite side of the model, “filling” the shadows – you can see I did this in my own setup. Play around with the position of your lights and reflectors until your model is evenly illuminated.
At this point, you’re ready to start snapping! Hit the shutter and get as many photos of your miniatures as you want. We’re almost done, but there’s one important step left…
3: FIX IT IN POST
A camera is a tool, just like using hobby clippers to snip models from their plastic sprues. In this regard, post-processing is like using a hobby file to clean up the cuts and mould lines so that your model – I mean, photo – is in pristine condition. It takes a little extra time, but the results are worth it!
The important settings to pay attention to are:
- Exposure – how bright or dark the photo is overall.
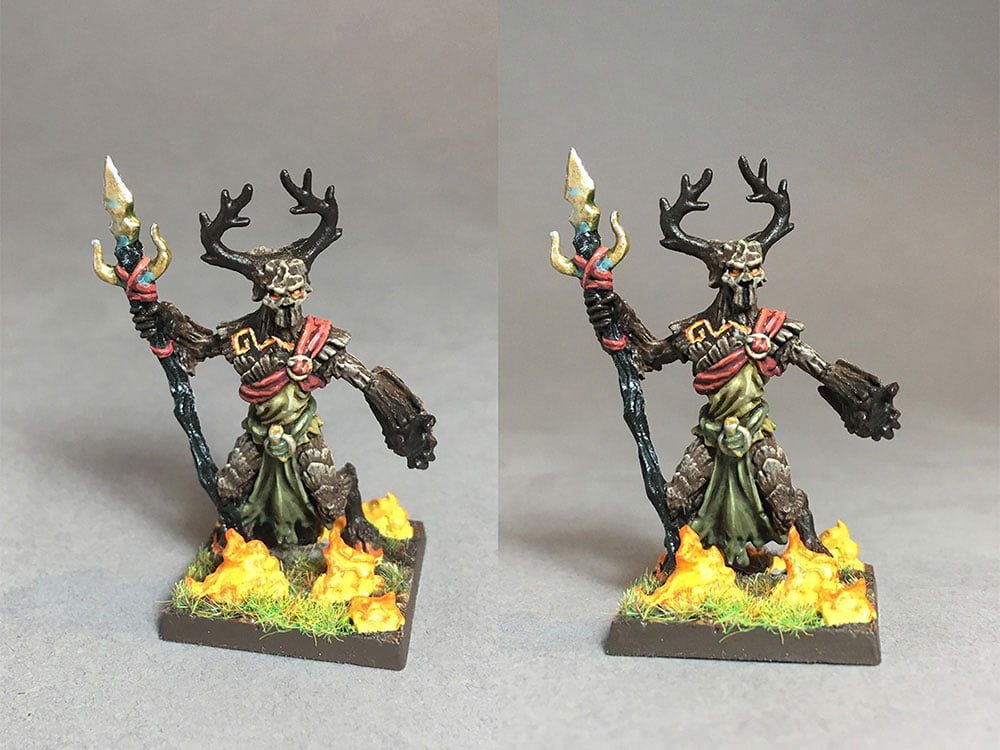
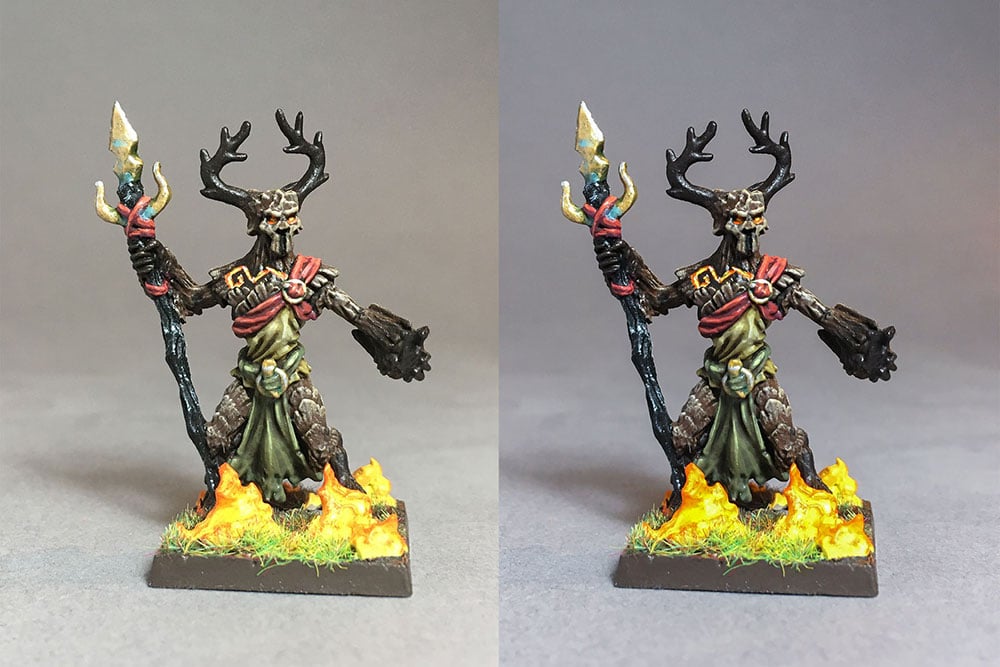
- Highlights and Shadows – how bright the bright areas are, and how dark the dark areas are. For example, the fire on my Gladewalker Druid’s base is very bleached in the raw photo, so I lowered the highlights to bring back some of the colour and definition.
- Saturation – how intense the colours are. If your model’s colours look muted and grey, try turning this up slightly. My Gladewalker’s red sash benefitted from a bump in saturation to restore its colour.
- Colour Cast – this is usually split into two settings: one for Temperature (yellow-blue cast) and another for Tint (green-pink cast). For example, the photo of my Gladewalker Druid turned out quite yellow, so I adjusted the temperature until the colours resembled the actual miniature again.
Have a go at changing these settings and see what helps make the model in your photo look closer to the real thing.
… and that’s all there is to it! I hope this brief guide has been helpful, and look forward to seeing amazing photos of your miniatures in the next Community Roundup here on the blog!