Road to Firefight: Forging Ahead With Forge Guard
10th Feb 2017
Pat "Chopper" Lewis
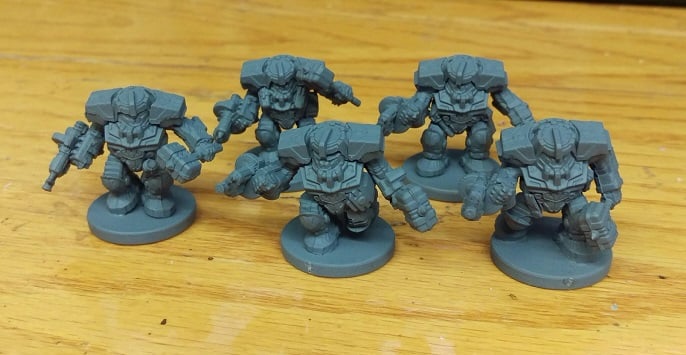
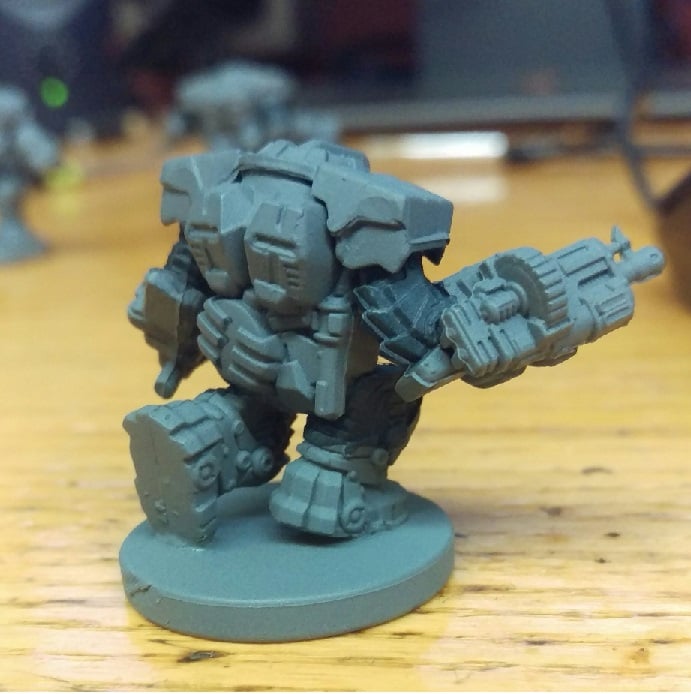
Hey everybody. John Jack back again with my progression on my Forge Fathers list. I wanted to start with the nice chunky look of the Forge Guard/Hammerfist Drop Troops because it’s something I think I could get painted up in a quick and easy fashion.
The Forge Fathers seem a practical race with not a lot of zazz or unnecessary flair to their utilitarian approach to design. I wanted to reflect this with a semi-monochromatic color scheme with potential for a little extra colors for the leaders but nothing too audacious.
I primed them with Dupli-Color gray, available at most auto supply stores. It covers really well and doesn’t hide any details. Plus my main theme/base color is going with the standard gray, stone look which will help expedite the process of completing this army.
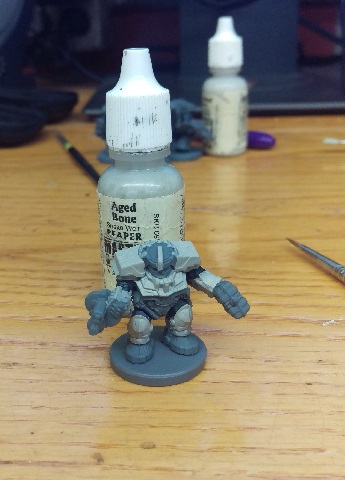
My paint collection consists of mostly Reaper and Vallejo paints. Washes I go with the Citadel gloss and some of the Army Painter tints. The Reaper paints triad colors; base color, shadow, highlight; came out years ago and were a real boon to a lazy painter like myself. I’ll be showing what I’ve used at each step in this process.
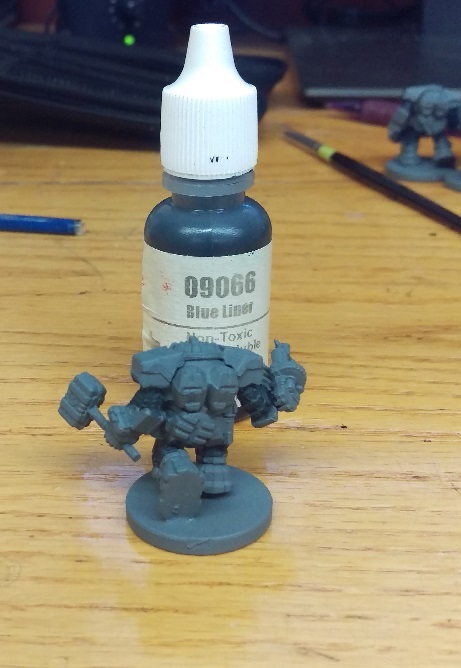
The next thing I did was use a Reaper Blue liner, which is a thinner paint for lining (obviously) as a sort of tint/wash for the more flexible parts of the armor. It didn’t quite have the transparency I wanted but it turned out okay for a tabletop quality, which is what I’m going for in these tutorials.
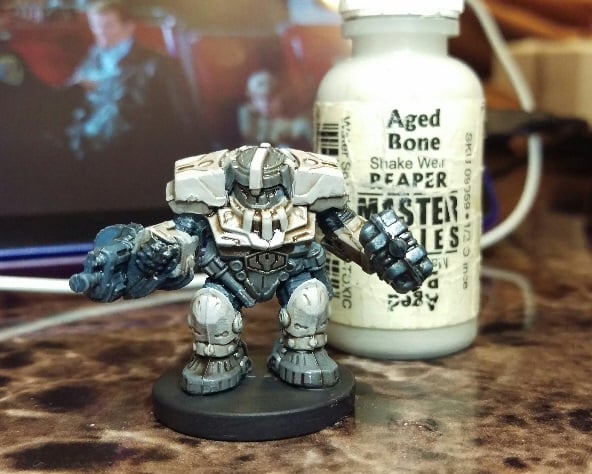
The next color I applied was the Aged Bone for the outer carapace, gauntlets, and heavier parts of the armor. This was a nice light contrast to the dark under and the middle gray color of the primer.
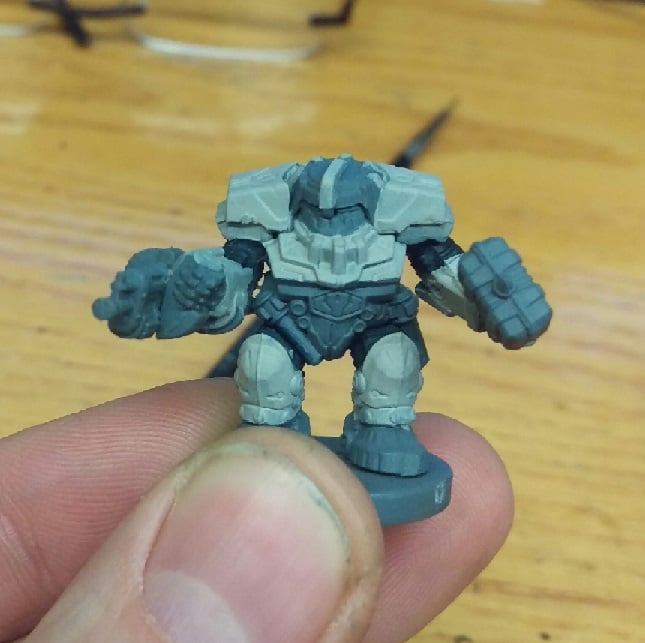
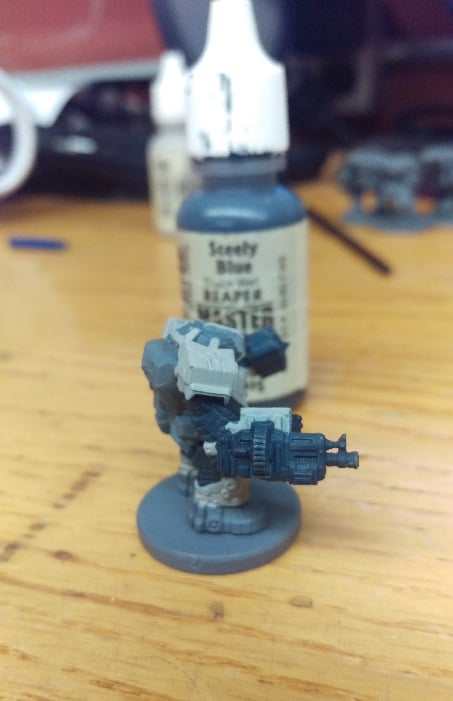
The next addition was hitting the weapons with a slightly watered down Steely Blue, which was just enough of a different color from the blue liner to keep them from blending together. Watering it down helped to naturally highlight/shadow itself. Followed by a drybrush with a little silver to help with highlights on the metal.
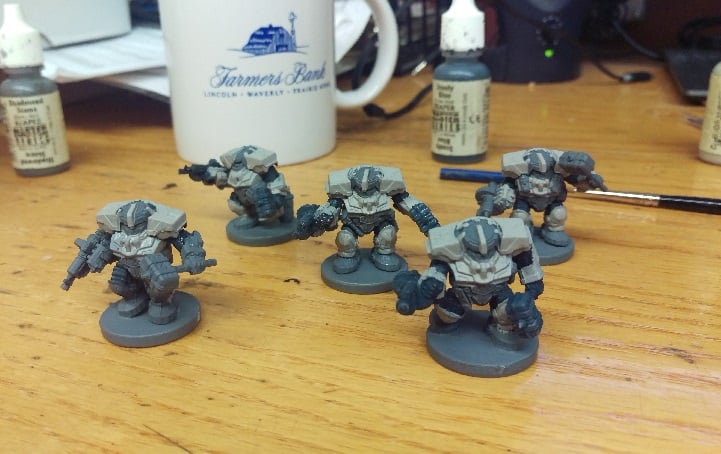
Here’s a look at how the unit was starting to come together aesthetically. A pretty cohesive looking group. I don’t have a sergeant upgrade at this time which I would try to differentiate with maybe a few gold highlights or different markings since the head is a different sculpt.
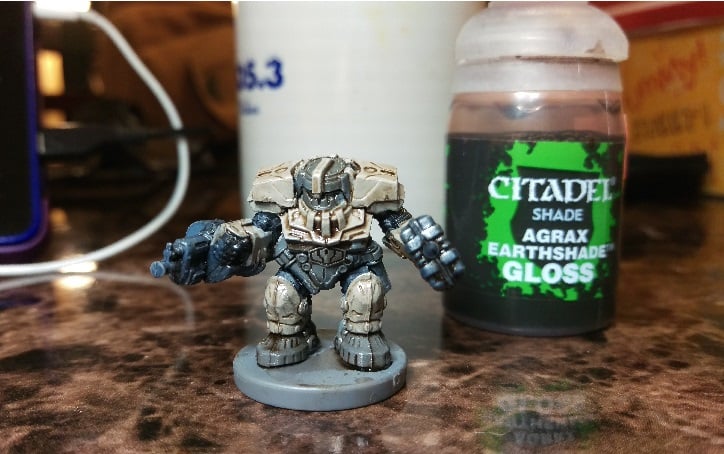
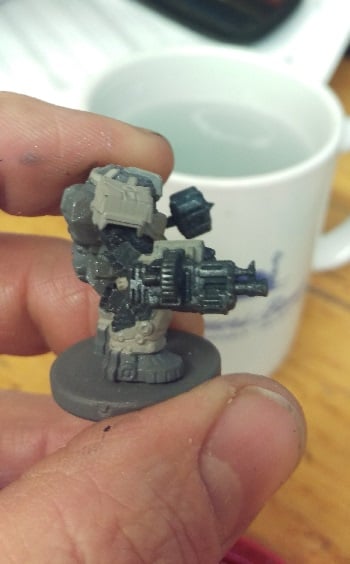
The last bit is the part that really did all the heavy lifting as far as details. Again I wanted this to be as simple a process as possible. I used the GW Agrax Earthshade Gloss. The gloss seems to not stick to the flat surfaces and settles better in the crevices and details of the models without discoloring the original color too much. I then went back and cleaned it up a little with the Aged Bone. I plan to maybe catch a few more highlights with maybe a Leather White in the future. But for now, this is a good start to a basic approach to tabletop quality.